



Support
Products
Click on a product to go to its specific support page. Here you will find the manual, latest firmware, wiring diagram, and pinout.
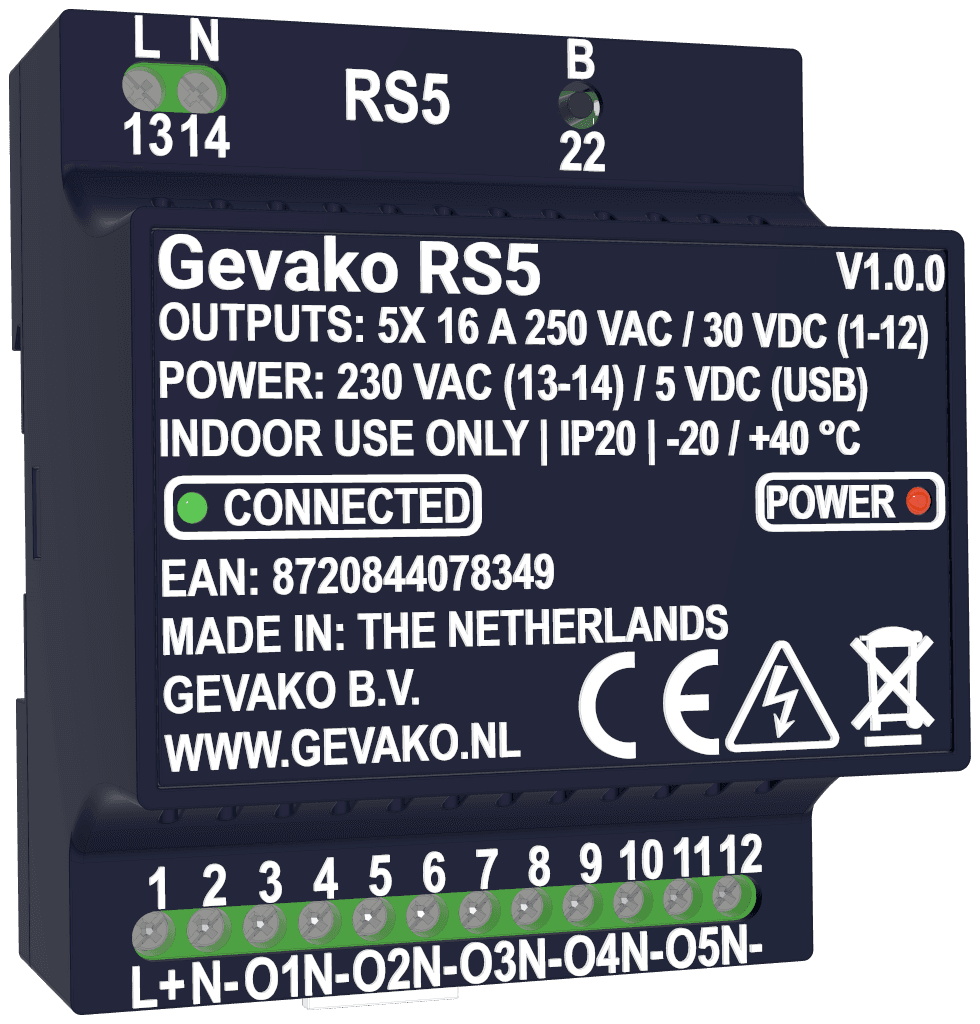
RS5 (V1.0.0 – later)
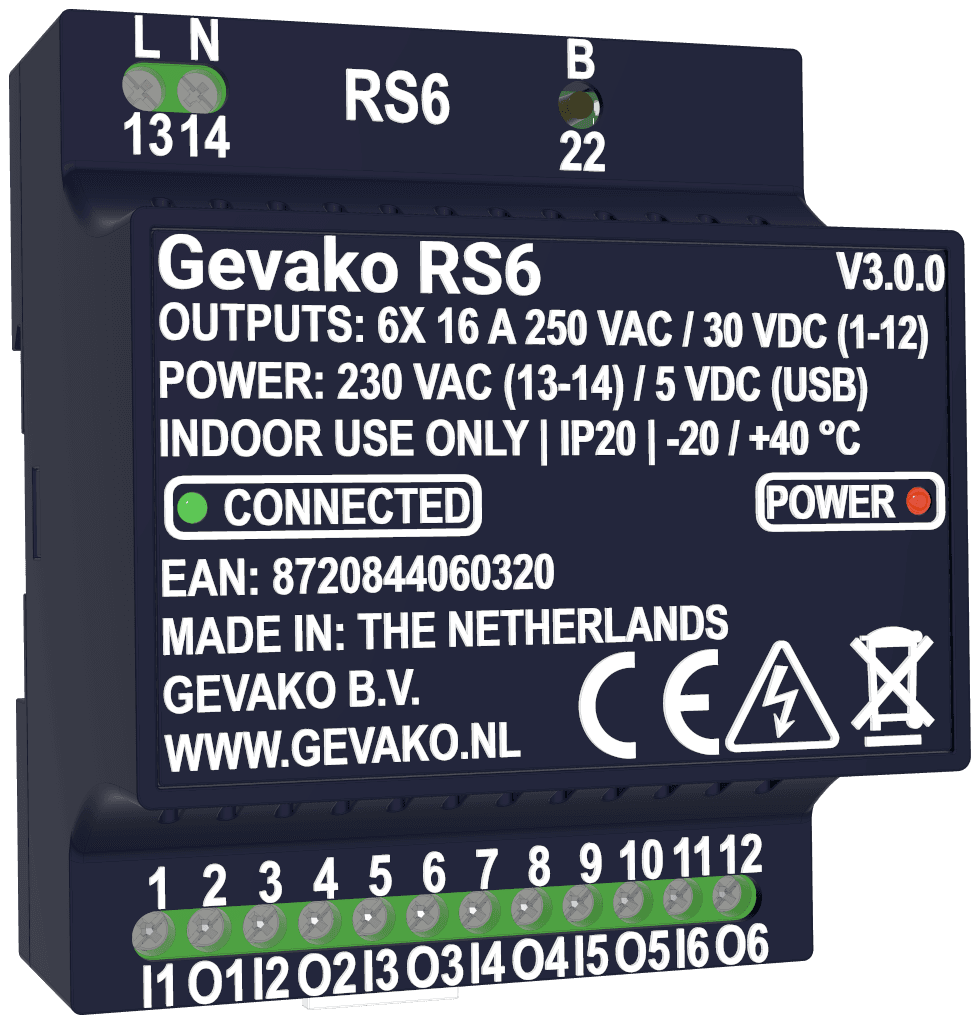
RS6 (V2.0.0 – later)
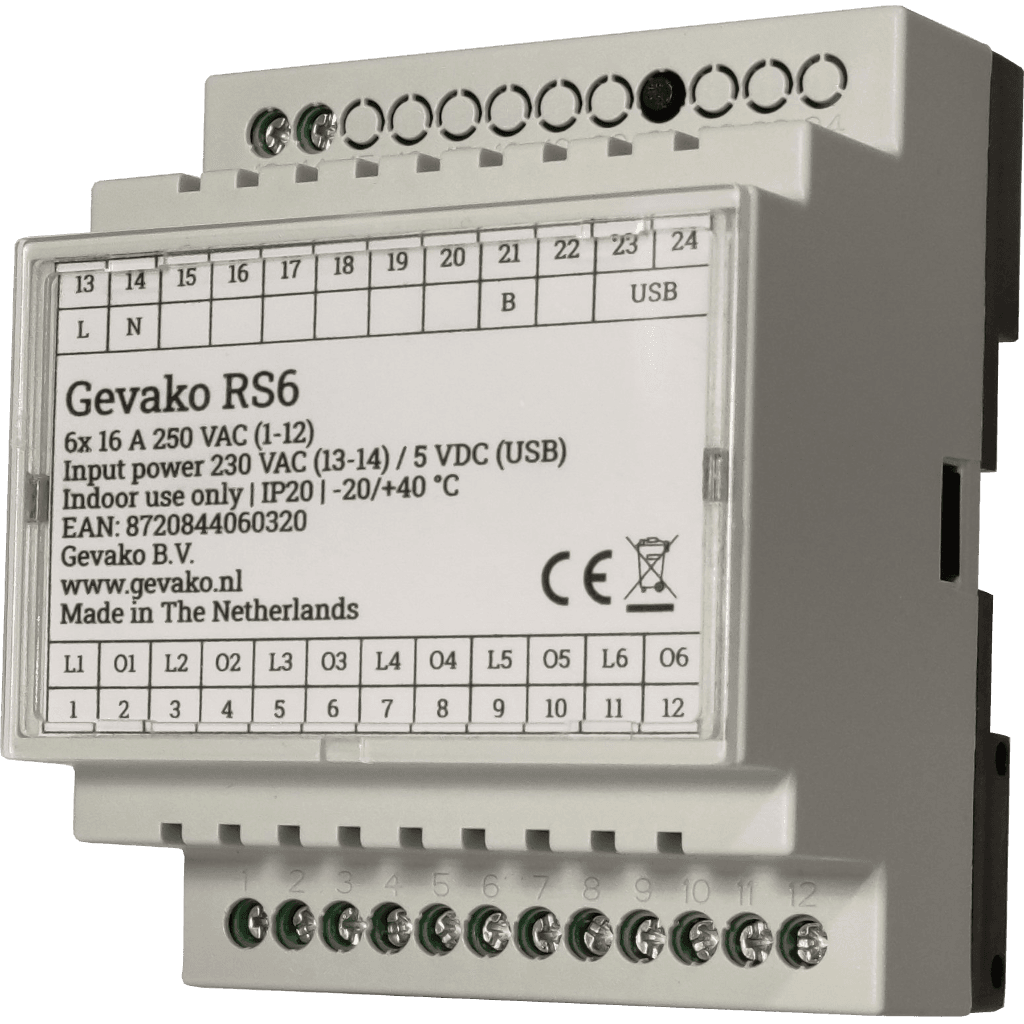
RS6 (V1.0.0 – V1.2.0)
Firmware Installer
Click the button below for the Gevako Firmware Installer. Connect your product and install the latest firmware.
Thread Provisioning Tool
Click the button below for the Gevako Thread Provisioning Tool. Add a product in 30 secondes to your Thread network.
Videos
Frequently Asked Questions
- Go to the Gevako Installer in Google Chrome or Microsoft Edge.
- Connect the device to your PC/laptop using a USB cable.
- Choose your product.
- Click “Connect”.
- Select “USB JTAG/serial debug unit (COMxx)”.
- Click “Connect”.
- Now click “Install Gevako xxx”.
- You will then be asked to confirm the installation. Click “Install”.
- The device will now be installed.
- Once the installation is finished, you will see the message “Installation complete!”. Click “Next”, then close the window.
- If the green LED does not start flashing, restart the Gevako product by briefly removing the USB and then reconnecting it. Otherwise, proceed to the next step.
- Reconnect to Wi-Fi and restart the product if the green LED does not stay lit after 30 seconds.
- The product is ready for use.
Does the COM port disappear or do you get the message “Failed to initialize. Try resetting your device or holding the BOOT button while clicking INSTALL.”?
Then do the following: Turn off the Gevako product completely and remove the USB cable. Wait 5 seconds until the red LED is completely off. Now press and hold the Boot button (B). Connect the USB cable to the product. Wait 3 seconds after the red LED turns on and release the Boot button (B). Refresh the page and continue from step 2.
- Go to Support.
- Download the latest firmware for the product you wish to update.
- Extract the ZIP file.
- Go to your Home Assistant dashboard.
- Go to Settings > Devices & services.
- Click on “x devices” under ESPHome.
- Choose the device you want to update.
- Click “Visit”.
- Under “OTA Update”, click “Choose file”.
- Select the file “gevako-xxx.ota_x.x.x.bin” and click “Open” in the file explorer.
- Click “UPDATE”.
- Once the message “Update Successful!” appears, the update has been installed.
- Reconnect to Wi-Fi and restart the product if the green LED does not stay lit after 30 seconds.
- The product is ready for use.
This can be done in two ways: the simple method and the more complex method.
Simple method
- In “Home Assistant”, go to “Settings”.
- Click on “Automations scenes”.
- Click “CREATE AUTOMATION” and then click “Create new automation” again.
- Click “ADD TRIGGER”. Click “Device”.
- Find the relevant device and select it.
- As the “Trigger”, select “Device x Reboot is pressed”.
- Click “ADD ACTION”. Click “Device”.
- Find the relevant device and select it.
- As the “Action”, select “Device x …” and then the output you want to be active immediately after startup.
- Click “SAVE”.
- The relevant output will now be turned on by “Home Assistant” immediately after the device starts up. Please note that “Home Assistant” must be active before the device is switched on. If you want the device to always control certain outputs at startup independently of “Home Assistant”, follow the complex method.
Complex method
- First, follow the complex method for adding a device to “Home Assistant”.
- Go to the YAML file of the relevant device.
- Under the desired output that should be active immediately at startup, add the following code: “restore_mode: ALWAYS_ON”. See here an example where output 1 will turn on immediately after the device starts up.
- – platform: gpiopin: GPIO0name: “Output 1”restore_mode: ALWAYS_ON
- Click “SAVE”.
- Now click “INSTALL” and install the firmware using your preferred method.
- The relevant output will now become active immediately after the device starts up, independently of “Home Assistant”.
- Turn off the Wi-Fi that the RSx is connected to. After one minute, the RSx will appear as an access point and the green LED will start flashing.
- Connect your laptop or smartphone to the Wi-Fi Access point
“Gevako-RSx Fallback Hotspot”. - Go to “192.168.4.1”.
- Select your desired 2.4 GHz Wi-Fi SSID and enter the
corresponding password. Click “Save”. - Wait 30 seconds. Restart the RSx by switching off the power supply.
- Wait 10 seconds after the red LED has turned off. Switch the power supply of the RSx back on.
- The RS6 will now attempt to connect to
Wi-Fi. Once the green LED is lit, the connection is established. - You can now turn the Wi-Fi back on.
If you need to reset your Gevako device or clear its Wi-Fi / Thread credentials, you can perform a factory reset using either the physical button or the Home Assistant interface.
Note: Ensure your Gevako device is running the latest stable firmware (updated via USB-C or OTA).
Method 1: Using the Physical Button
- Press and hold the BOOT button for at least 10 seconds.
- After 2 seconds, the green LED will begin to flash rapidly.
- Continue holding the button. After 10 seconds, the LED will turn off, indicating that the factory reset has been initiated.
- Your Wi-Fi / Thread credentials will be cleared, and the device will be ready to be re-added to your network.
Method 2: Via the Home Assistant UI
- Navigate to Home Assistant > Settings > Devices & services.
- Click on “X devices” under the ESPHome integration.
- Select the specific Gevako device you wish to reset.
- Locate and click the “Factory Reset” button.
- Your Wi-Fi / Thread credentials will be cleared, and the device will be ready to be re-added to your network.
Yes, you can. Use Gevako Installer and update the device to the desired firmware option.
The API key is: “b4ApLetCfxe55vXpFcNEZzqedlQkX5cLJO6JtFAxaC8=”.
Gevako on GitHub
Click the button below to go to our GitHub page. Here you will find all ESPHome firmware versions, and soon, DIY software projects for true hobbyists.
Gevako on GitHubGeneral Information About Home Assistant
Click the link below for the Home Assistant installation guide. Choose the platform that best suits your situation. Can’t figure it out? Please feel free to contact us, and we will be happy to assist you further.
Click the link below for the Home Assistant page on Reddit.
Click the link below for the ESPHome page on Reddit.
Click the link below for the ESPHome forum.